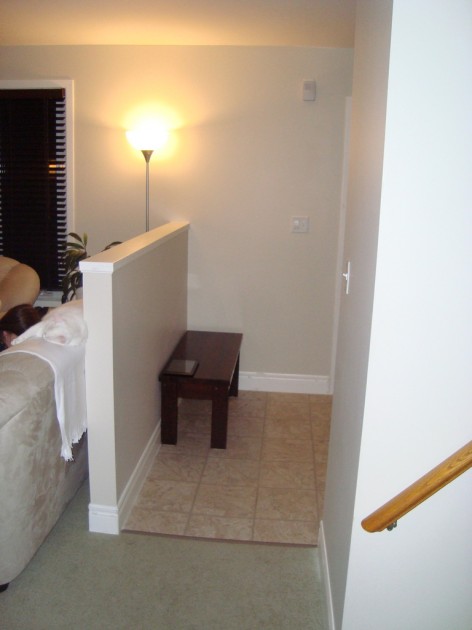
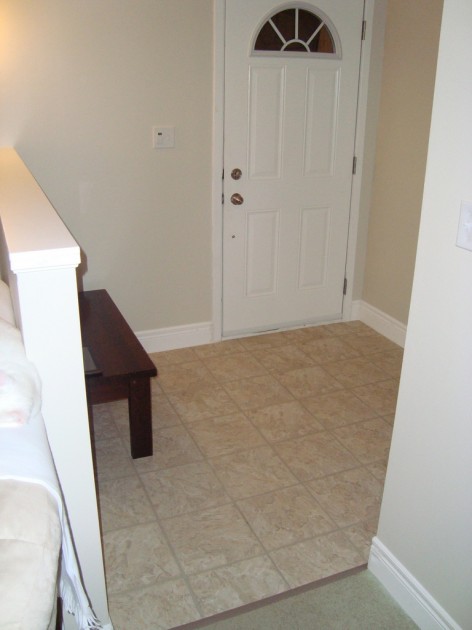
Front Entrance, Part 2
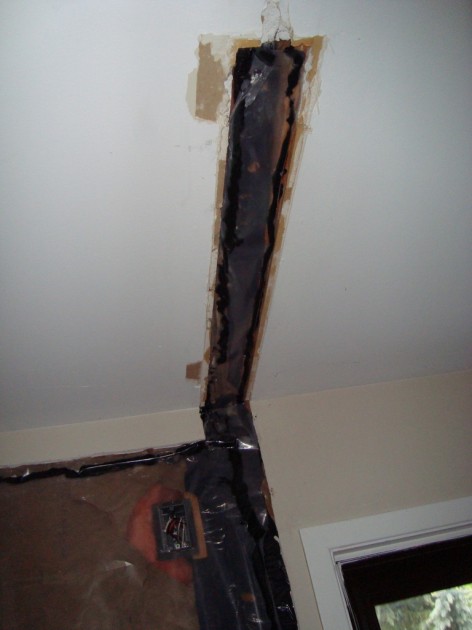
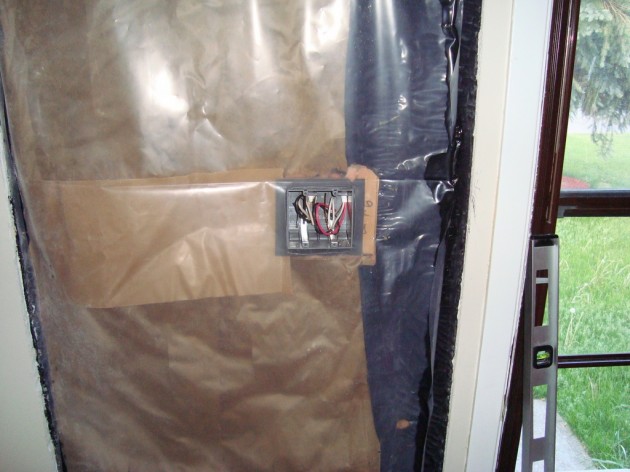
In my last post, I finished the upstairs electrical work, so next I could put up new vapour barrier. Since the old stuff is kraft paper-faced insulation, I really don’t think it’s a great vapour barrier as it’s not even sealed well. I put in new 6mil barrier, and used acoustic caulk to seal it around the edges. At least in the part I’ve opened up I have not introduced any new leaks. I am not sure if this was really necessary, but I sliced slits in the kraft paper, because I actually don’t want any moisture to be trapped in between. Any moisture needs to be able to dry outwards from the new plastic vapour barrier.
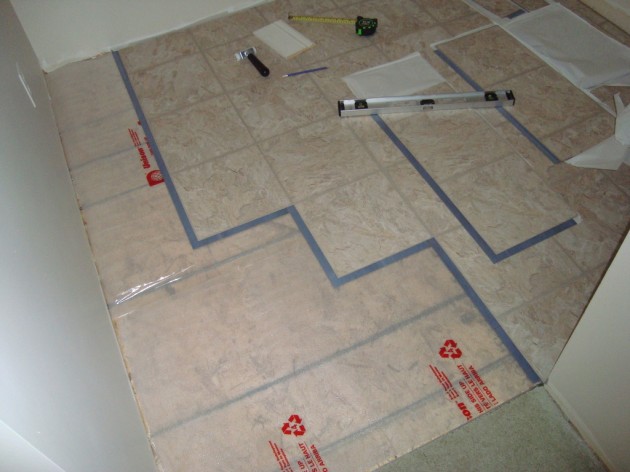
Next thing I tackled was tearing out the old carpet. Here you can see the terrible linoleum peel-and-stick tiles that were once covering the entire first floor, and which I also found in the upstairs bathroom. I measured out the exact placement of the wall and marked it with painters tape, and then just used a knife and my level as a straight-edge to cut out the section. I also had to pull out the old carpet tacks along the edges.
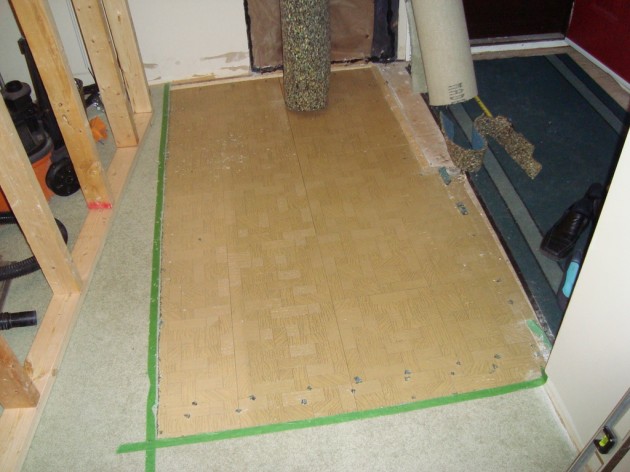
I also cut the underpadding back about 1″ beyond where I cut the carpet, and installed new tack strips. As best as I could manage, I pulled the carpet back and hooked it on. I used a metal threshold strip that had tacks attached for the doorway.
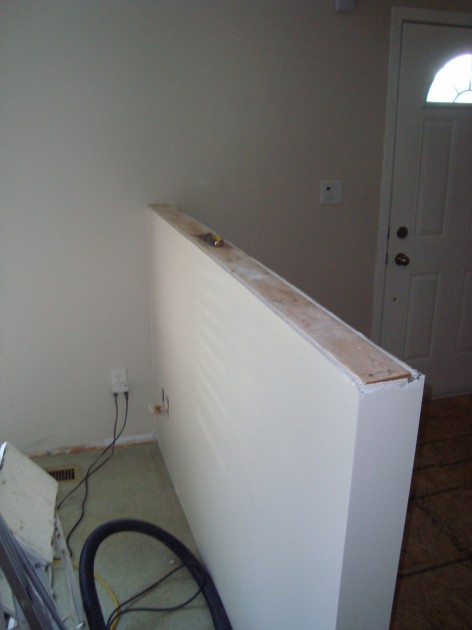
In the above picture, you can also see the framing for the new wall ready to go in. I didn’t end up taking many pictures of this unfortunately, but I installed it by using several #10 3.5″ screws into the floor below. I added an extra piece of 2×10 blocking between the joists underneath near the end, and screwed into that as well to give it even greater support. Because it’s positioned in between two studs, to secure it to the existing exterior wall I used 6 large zinc self-tapping wall anchors which combined should have a sheer strength rating of around 500 lbs. In retrospect, if I was doing this again I would have just opened up even more of the drywall and installed a piece of 2×4 between two studs to give it something solid to connect to, but even as is I’m fairly certain this isn’t going to move easily.
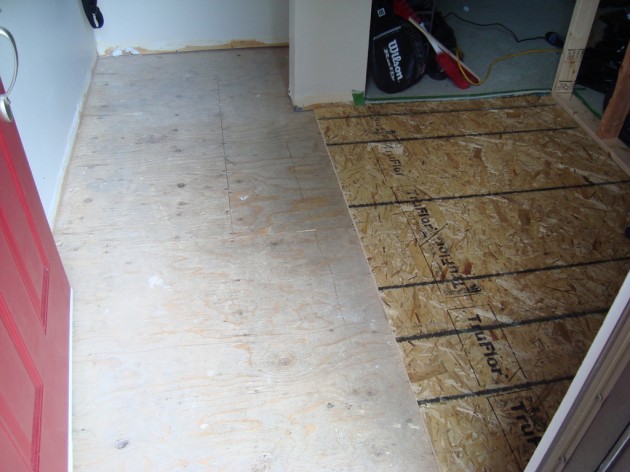
The subfloor is 1⁄2″ plywood with another 1⁄4″ layer on top, with the old linoleum tiles stuck to that. I ripped the 1⁄4″ plywood out, and then put down a couple new sheets of 5⁄8″ OSB to bring up the floor to the height I wanted.
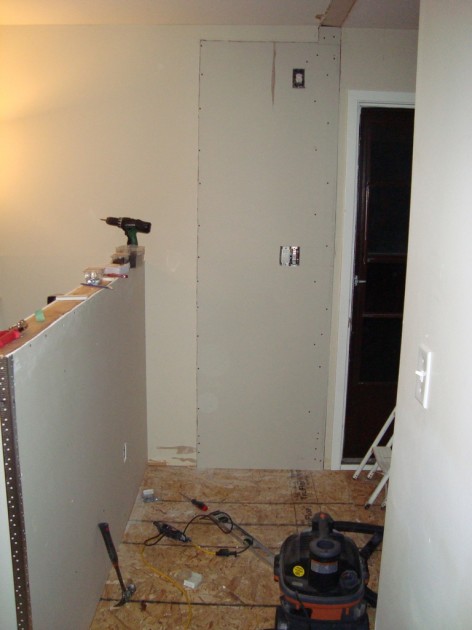
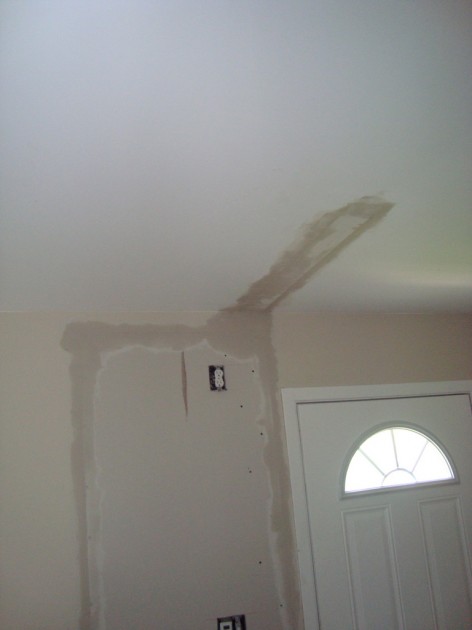
Next up was drywall. This was pretty straight-forward. A couple sheets for the new half-wall, and a 2×7.5′ piece for the exterior wall. Since I cut to the edge of the stud, I had a decent nailing surface. I did have to adjust it a bit, as the old chunk I cut out of the wall was not perfectly straight, but using a drywall rasp made this very easy.
I also put in a new electrical outlet on the inside of of the wall, and replaced the the speaker and network/coax connections I previously had in that corner.
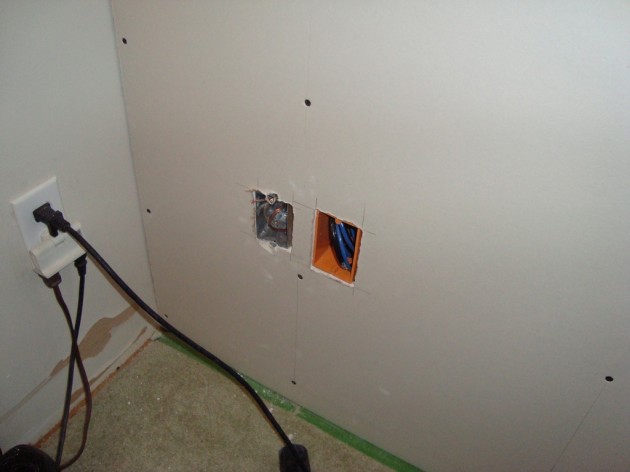
I was originally going to just have the box near the top of the doorway as a junction box (it’s where I have the transition from the 12⁄3 aluminum from the foyer light to the 14⁄3 copper going to the switch and outside light), but instead decided to make it an outlet, so I could plug in our wireless doorbell.
Everything sat this way for about a week, before I was finally motivated to get the first coat of mud on, marking my least favourite part of these jobs.
We didn’t have enough paint left and had to get some more mixed, but just to make things fun the base and color we used are no longer available. We got one color-matched, but ended up having to paint the entire front wall because the color was not 100% perfect and you could see the difference. It’s not noticeable compared to the other walls though.
I used the same vinyl plank tiles I have in the upstairs bathroom to finish this floor. I was a bit concerned about the height compared to the trim, so I used some foam underlay I had left over from laminate I installed in the basement. The foam actually works very well, and the floor as a very subtle ‘squishy’ feel to it that is quite comfortable to walk on, especially barefoot.
This stuff goes down very quickly, and I had it done in under two hours. In the meantime, my wife was outside painting the trim, and as soon as the floor was done I installed all the trim. Finally, installed the new closet doors, which are mirrored versions of the same doors I installed in the bedrooms last year.
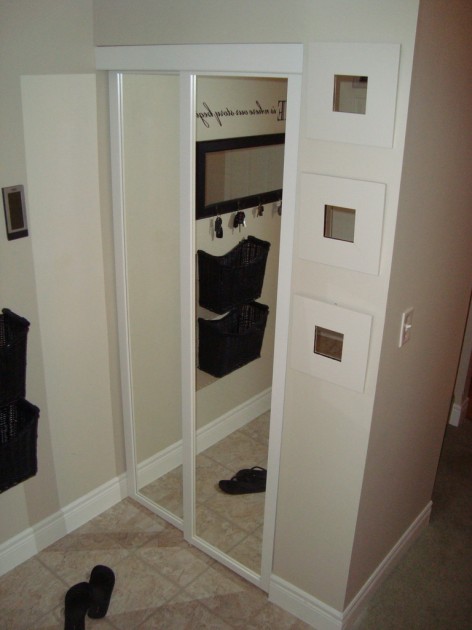
I also used some trim to cap off the top of the half-wall and provide a bit of ledge. The top piece is a piece of pre-primed MDF, and for the finished end I used a couple coats of spray paint primer and sanded it with fine-grit sand paper to get it smooth, and used my belt sander to round off the corners. There’s another piece of trim around the bottom to finish it off.
