Upstairs Bathroom Refresh, Part 2
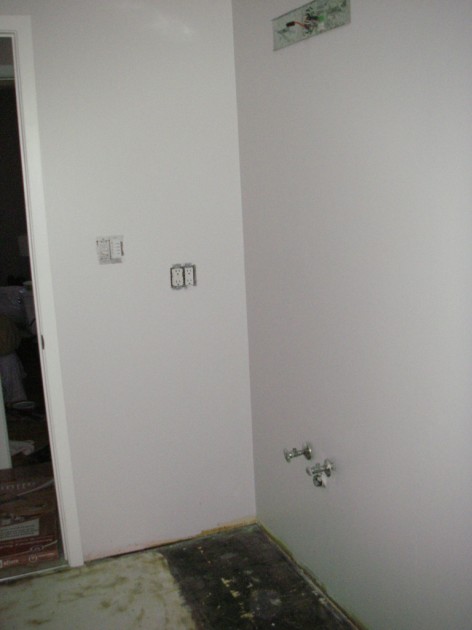
In Part 1, I removed everything in the bathroom. Once the drywall patches were dried up, the first thing I did was paint.
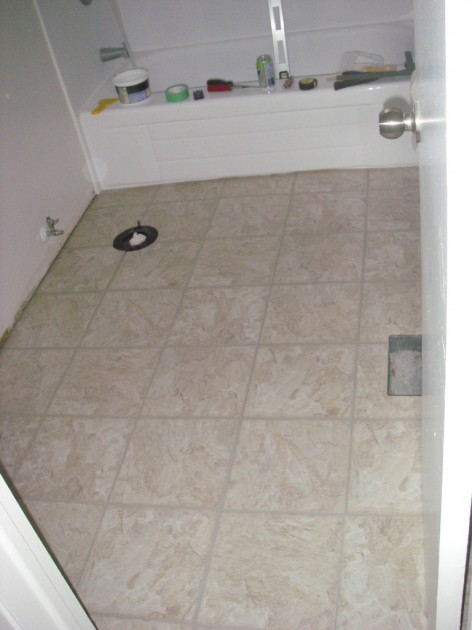
Next up was flooring. I chose to go with Allure vinyl plank flooring, which is relatively inexpensive but looks nice and has a nice textured feel to it. This is a floating floor, each piece is 1×3′ (three “tiles”) and has opposing adhesive lips on opposite sides that stick to each other. You can pull them apart and restick them a couple times for several minutes after you first put them together, but they eventually harden up quite a bit and form a very solid (and waterproof) seal.
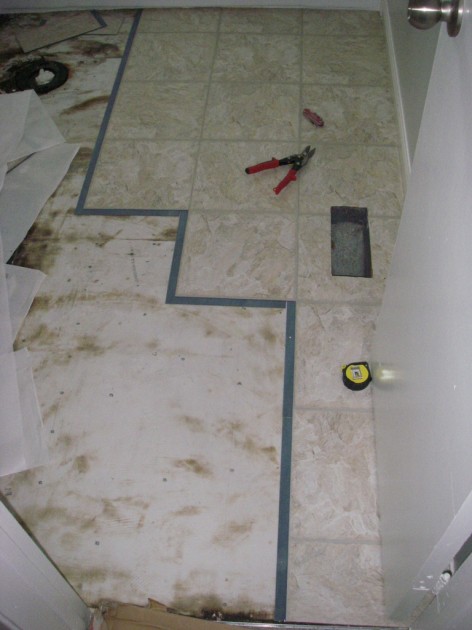
The floor is easy to cut with a knife (score and snap), and I used a pair of tin snips to cut around the vent and toilet flange. This was my first time using this product, and it took a little over two hours to complete on my own.
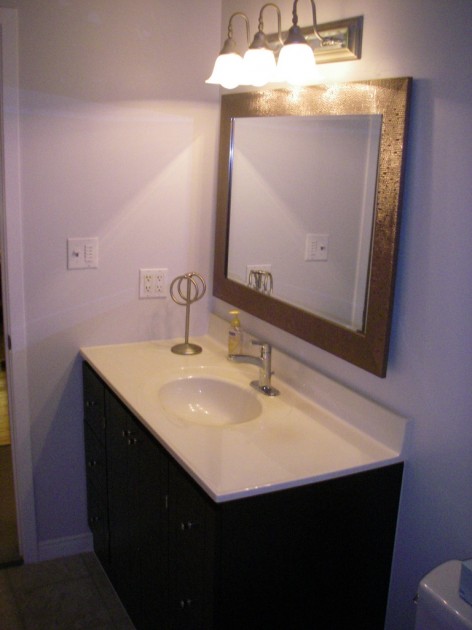
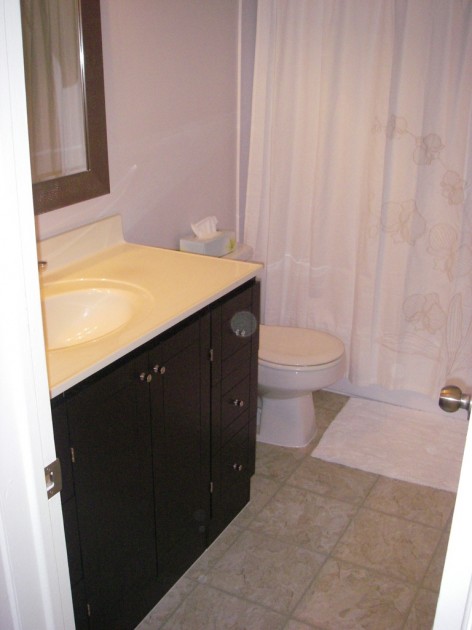
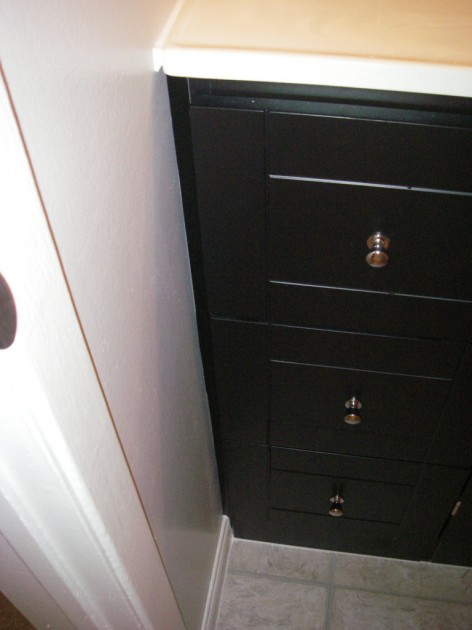
I unfortunately didn’t take too many pictures of installing the vanity, but what I went with was some stock cabinets with two 12″ drawer units and a 24″ sink base. Because the drawers would otherwise hit the trim around the door and not open all the way, I had to trim it out. I used a piece of 1×3″ with a piece of black veneer edging for finish. Because (of course) the walls are not true, I also used a belt sander to take nearly 1⁄4″ off down to the bottom so my vanity is plumb with no gaps.
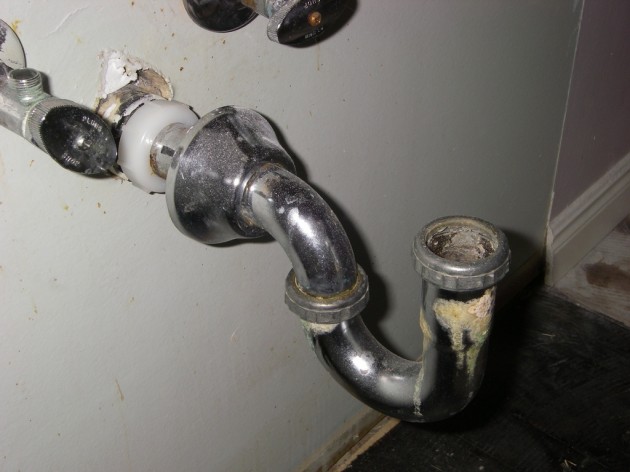
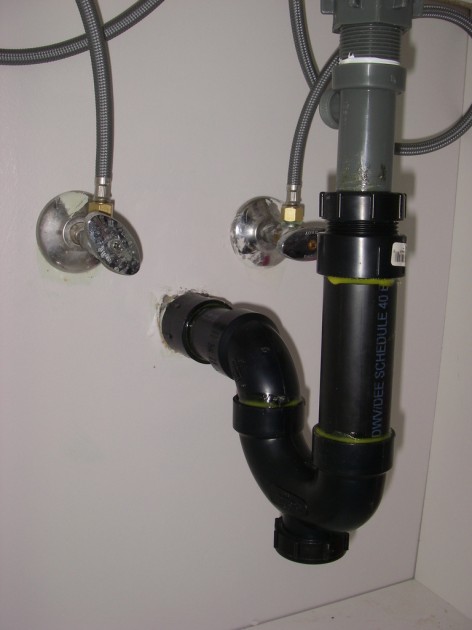
There was a 1 1⁄4″ chrome trap from the old sink, which I did not want to re-use.
There was no play at all in the pipe coming out of the wall, and I didn’t want to cut any more drywall open, so I had a bit of a tough time figuring out how to connect to this until I realized a 1 1⁄2″ female hub adapter would work, and results in no change in the inside diameter. It screws onto where the white compression fitting is in the above picture.
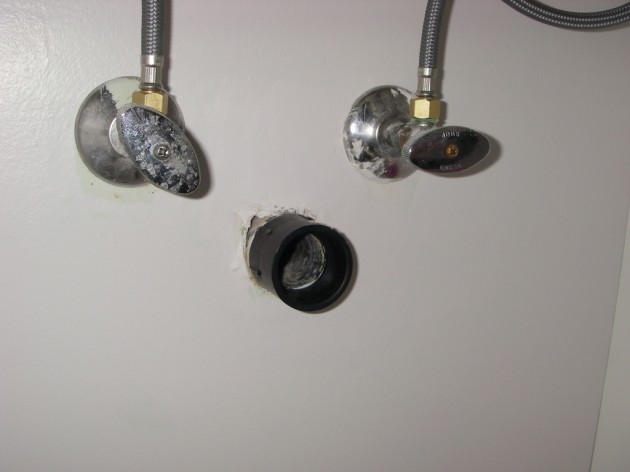
After that it was no problem to connect the rest of the drain using 1 1⁄4″ ABs. I have since heard the traps that have a union at one end are easier to clean if needed than the ones with just a drain in the bottom, but in this case you could disconnect the sink tail piece and unscrew the whole drain from the hub fitting on the wall, if needed.
I re-used the old cultured marble counter-top, putting it in place using silicone caulk underneath on the cabinets and around the edges against the wall. I also put in a new faucet that my wife picked out which I think also really helped update the look.
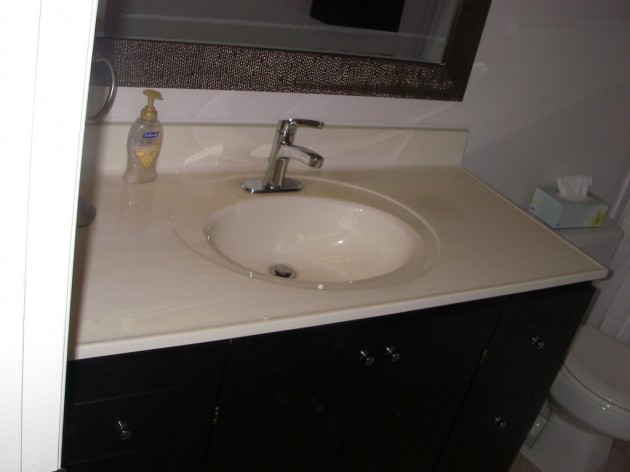
The new vanity is 35″ to the top of the counter, which for me as a 6′ tall person, is so amazingly better than the 32″ or whatever it was before. After putting up the new mirror, the transition is complete, and both my wife and I are very pleased with the way it turned out. Not too bad for a long weekend’s work (protip: minimizing the time you have your wife’s main bathroom torn apart for is one of the keys to a happy marriage).
