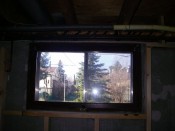
Back window
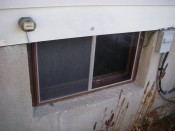
I took advantage of some nice weather a couple weeks ago to finally replace the back (laundry room) window. I replaced the front windows a couple of months ago. The back window was 40″ x 24″, and had a slider on the outside, with a hinged flip-up window on the inside.
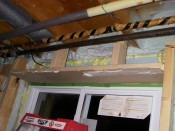
One issue I had was that the top of the window was actually above the gas and water lines, so once I added a ceiling to the laundry room, the window would have been above it. Since I was replacing the window anyways, the new one is shorter, at 40″ x 18″, and otherwise exactly identical to the front windows. This also meant I would be left with a 6″ gap at the top of the window, so I started by building a new frame. I used tapcons to anchor in the side pieces to the concrete, and then put a piece across connecting the two. This will also serve to anchor the new window in place.
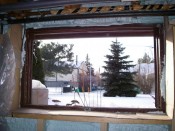
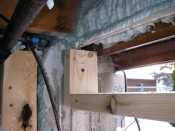 It’s a bit hard to make out, but there is a bit of a lip (about 3⁄4″ wide) in the concrete, centered below the piece of 2×4 in this photo. They obviously poured the concrete with the old frame in place. I decided not to chip this out, and instead to just center the window on it and fill it with foam to insulate.
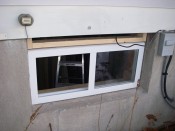
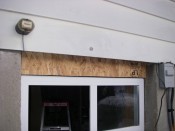
I put the new window in, and anchored it to the concrete with a couple of tapcons on each side, and a couple of wood screws to the wood above. I used a piece of 5⁄8″ OSB to fill in the 6″ gap on the outside. The black wire you can see in the photos is my cable line, which previously went through the window frame. I mostly kept it connected while I was working because I was listening to an online radio stream at the time. What can I say – the regular radio stations here suck.
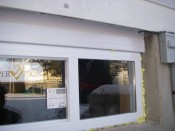 I used a piece of flashing, which pretty much fit perfectly, to cover the OSB from the outside. I just glued it on with a construction adhesive, and then went around all the edges with some caulk. I also put some low-expansion foam in both the front and back of the concrete lip, all the way around the window.
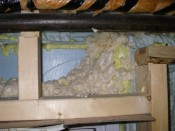
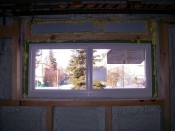 On the inside, I put 2″ of rigid foam board against the OSB, and then sealed the gaps all around it with foam. I should also point out that having learned what a pain it is when the foam hardens on the window surface, I used painter’s tape to protect the window frame. I highly recommend doing this, as it made cleaning up the spots where the foam expands out very simple. On the front windows, I only had a couple places where it hardened onto the front, but it took me a long time to scrape it all off.
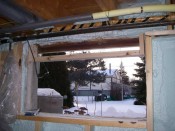
After giving the foam a day to harden, I added some framing to the interior wall to fill in the top part of the window so I have something to attach the drywall to. I also took another can of some other foam (which was for gaps 2″ or less – I really could have used the 2″ or greater, but this was all I had on hand) and went over all the wood pieces and everything that felt cold. I likely will take another can (maybe 2) and do this again. Nothing is cold now, but there is not really that much insulation above the window compared to the rest of the basement. Also note I stapled some cardboard along the bottom, to prevent the foam from falling down into the window.
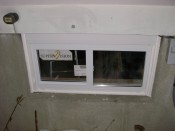 Once this was all done, I used some of the same all-PVC trim to fill in the gaps from the outside, and used some exterior caulk to seal everything up. I probably could have done a better job here, but it was very cold out and I was rushing to get it done. If it looks terrible in the spring, I’ll probably redo some of it – but for now, it keeps the cold and water out, and that’s what’s important.
