New Windows
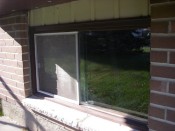
One of the reasons we bought this house (as opposed to some of the other similar places in the area) was because most of the windows had been replaced within the last few years. There are 4 windows that haven’t been replaced: 3 in the basement, and one in the upstairs bathroom.
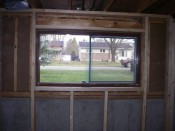 The old windows were fairly typical of 1970’s construction, by which I mean, pretty horrible. Basically they’re just two panes of glass that slide up against each other, and two layers of these so there is an air space in between. When I had a blower door test (basically causes negative pressure in the house) done as part of my energy audit, the draft coming through the basement windows felt like a fan.
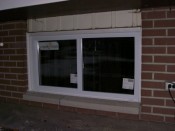
I’m just replacing the basement windows for now, and I’ll wait until the spring (and I’m done renovating the basement) before I do the upstairs bathroom window. There are two fairly large windows on the front (50″ x 24″), and a 40″ x 24″ window in the laundry room area (which I haven’t actually replaced yet). I took advantage of a relatively warm weekend to do the front windows, but now it’s bitterly cold again, so I’ll wait for a while to replace the back window. The new windows are Energy Star PVC windows I ordered from Rona.
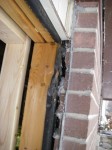
I basically had to destory the old frames to get them out – there were about 8 4″-long nails holding each one in, and they were pretty solid. This made a bit of a mess on the outside house wrap (I’m not sure if it’s considered a vapour barrier or not?).
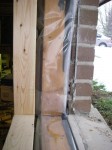 I decided it seemed a bit weird to just leave the windows sitting directly on the 2×4 framing, and a vapour/air gap in between, so I took some 12″ wide vapour barrier and used it around the frame, sealing it to the outside house wrap as best as I could. I should probably mention I have never installed windows before, so I’m not really sure if that’s a normal thing to do or not, but it seemed logical.
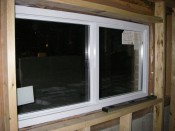 I put a bead of silicon caulking down along the bottom edge (on top of the vapour barrier, and placed the window on top of it, and then used some long screws to fasten the window in. I should mention, the window came with its own screws, which ended up being completely terrible. They were philips head, and not a very good grip. After trying to put the 3rd one in, and stripping the heads on all of them, I gave up, and used some long robertson deck screws I had instead, which also ended up sinking into the frame better. They had supplied some caps to cover the screw heads with, and aside from the fact they didn’t actually fit their screws very well, the screws wouldn’t sink all the way in (at least not without stripping the heads), so the cap would float above and look very dumb. I got all but one of the original screws back out again, but I think it will work OK (I just hope I never have to remove it for any reason!).
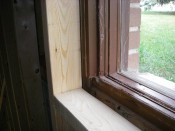
On the outside, I used some solid PVC trim from Home Depot. I have some 1.75″ x 1″ rectangular stuff to cover the big gaps, and 3⁄4″ inside round to trim out the edges. I highly recommend going this route – it’s ready to install, white (but paintable), and very easy to work with. I used a couple of screws to hold the big pieces in, and then put the inside round around the edges (covering the screw holes), and used some white exterior caulk to seal everything. In person, it looks better than the camera makes it look in these pictures.
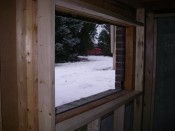
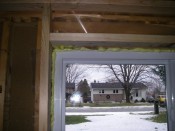 I used some expanding foam to seal up the gap on the inside, and that’s it. There is absolutely no draft from the windows now at all, and they look much better – from both the inside and the outside.
The back window is going to be a bit different. For one, I’m replacing it with a shorter window (18″ instead of 24″, to allow room for the ceiling in the laundry room) so I’ll have to fill out the extra 6″. It’s also mounted in the poured concrete foundation, so 3 sides of the window are going to be touching the concrete. My plan is basically just to use tapcons to mount it, trim the outside, and then fill it up with foam. I’ll do a post on it later once I’m finished.
