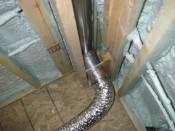
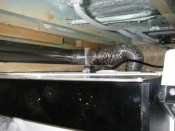
Dryer vent
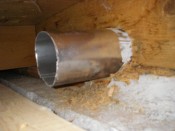
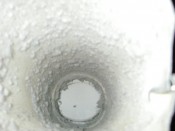 While I was getting ready for the insulation, I disconnected the dryer and noticed basically a very cold wind coming out of the end of the pipe. Upon closer inspection, there was actually frost on the pipe inside of the house, and when I took it apart, there was actual snow in the outside vent (the picture is hard to make out, but most of that is snow, except for at the very end, which is just dryer lint).
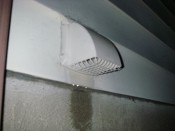
The outside vent was fairly cheap, and although it had a damper, it was stuck open due to the cold and the warped plastic shell. This mean that basically, cold air and snow could blow into the house through the vent, effectively into the back of my dryer.
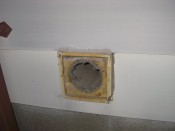
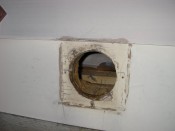
I pulled the old vent out, which basically broke into pieces while I was removing it. In case you were wondering. chipping tiny pieces of plastic stuck to 30-year-old caulk in -15°C weather is not fun.
It took a bit of cutting and caulk to get the new vent to fit nicely with the siding, but it works.
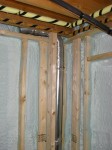
I built a small box in the corner for the vent to go through, but then ended up rebuilding after the insulation was in because I realized the vent was sticking out the wrong way, and the dryer would have had to be too far from the wall to connect to it.
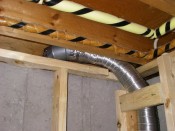
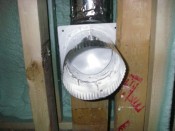
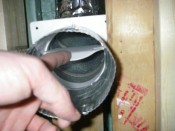
I used a piece of semi-rigid 4″ pipe to make the connection from the outside vent into the box, and then a 5′ section of straight 4″ vent, into an elbow to come out of the wall. At the very bottom, I added a 4″ damper as well, to provide some extra protection in case the outside damper gets stuck or clogged with dryer lint, etc. This is pretty cheap, and it will still be accessible to clean once the drywall is up.
When done, the dryer will be about 6″ from the wall.
