Basement insulation
The insulation was finally done, and it couldn’t have been soon enough. It’s amazing how expensive it is to heat a house with no insulation in the basement..
As I’ve mentioned before, I’m using a spray-in foam insulation (HeatLok, though I wasn’t looking for a particular brand when finding a contractor to do it, it’s just the one mine – Frontenac Foam Insulation – used). There are some great benefits to this stuff:
- High R-value per inch (this stuff is around R-7 per inch – compare to fibre-glass batt insulation, at about R-2.5 per inch);
- Doesn’t take up much space. I was able to use 2×4 framing, and only put the frame out about an inch from the cement wall. With fibre-glass or rigid insulation, I’d have to build out a thicker wall, possibly using 2×6’s, and effectively make the room a tiny bit smaller. When you don’t have a ton of space to begin with, losing 20 sqft is significant.
- No vapour barrier required.
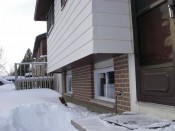
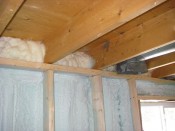
- Easy to install. Well, aside from the fact I had a contractor do it for me, it’s easy to install on uneven walls because it just conforms to the wall shape. Since I had some parts of the cement sticking out farther from the frames when they poured it, as well as a brick/wood framed half wall at the front of the house (see pics below), it would have been very difficult to install rigid insulation, since if you leave air gaps between the insulation and the concrete, you can have moisture problems.
On the downside, it is quite a bit more expensive than other types of insulation, however, I hope to offset this with a grant from the eco-Energy Retrofit Program. Unfortunately, I had this done just days before the recently-announced federal renovation tax credit, so I can’t qualify for that.
It took them about 40 minutes to warm up the foam in the truck before starting (it was about -15°C out), and about 2.5 hours to install it all. They basically have a big truck with a tank full of foam in it, and a pump, and then a long hose coming inside to a spray gun, which mixes the components of the foam and I think uses compressed air to spray the foam onto the wall, where it then expands.
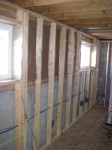
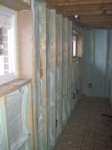
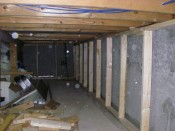
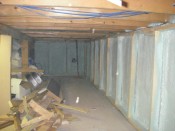
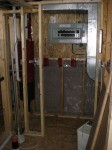
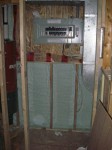
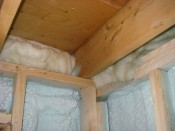
Here are some before/after pictures:
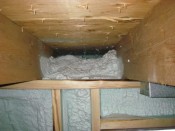
The front of my house has an overhang, and so they put foam all inside that as well.
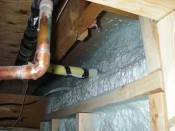
Unfortunately, there was a bit of a draft in the far corner, where it was hard to get the nozzle in (they actually had to notch out a piece of the frame to get inside, which you can see in the pic below). Before they left, they mentioned that it might not have gotten all the way back, so they came back a few days later with a type of foam that expands more and actually filled all the headers in, and now there are no drafts and it is very warm.
The first foam they put in (blue) feels like hard styrofoam. The higher-expanding stuff (yellow) feels a lot squishier. As to be expected, this made a huge improvement in not only the basement temperature but in the overall house temperature, and my furnace runs a lot less often now. A bit unexpected, the basement is actually warmer than the main floor of the house now!
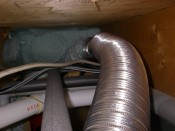
You can also see why I was trying to get anything that needed a hole outside done before the insulation (like the bathroom vent – compare to this picture); not that it is impossible now, it just means I would have to drill through an extra few inches of foam, and then seal it all back up again when I’m done.
