Drywall, part 1
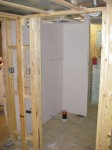
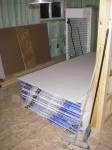 With the help of my friend Matt, I finally started getting the drywall up. It’s a nice change, things are actually starting to look like real rooms now, instead of just framing, wood and wires everywhere.
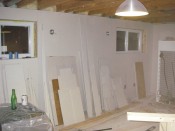
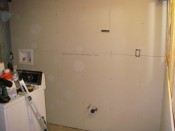 I haven’t done a lot of drywall (a couple of wall sections, and more recently the headers for the upstairs closets), but I think we did pretty well. There were some complicated cuts to do. You can also see in this picture how the drywall is covering the window completely, and I started to cut it out. This method is supposed to make a stronger wall around the window (as opposed to having seams at the corners), even though it does mean there is quite a bit of waste.
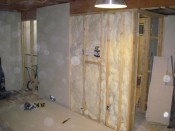
One other thing I did was insulate the wall between the main room, and the laundry and furnace rooms, to try and reduce noise. Since I’m not drywalling the interior walls in the furnace room, I put up some plastic sheets to cover the insulation. The media wiring going to the TV is behind this, so if I do need to change wiring it’s just a matter of pulling the plastic back, and then stapling it back down when I’m done. The plastic is the same stuff I used under the footers of the exterior walls, made into a larger sheet with tuck tape.
I’m not drywalling the ceiling, as I’ll be putting in a suspended ceiling instead. I’m hoping the acoustic tiles will be okay for damping noise from upstairs, but worst case I can take tiles out, and put insulation above it.
One other thing I’ll note – I was originally going to use Roxul insulation instead of fiberglass, but when I bought this insulation to put behind the electrical box (before the real insulation was put in), there was no Roxul in stock, so I had to go this way. This insulation is just the left over stuff from that project (which is like 80% of the bag) so it didn’t make sense to trash it and buy new stuff.
Update: Part 2 is here.
