Interior framing
I’ve been getting behind with my blogging, so I’m going to try and post a few entries to catch up to where I actually am with the renovations process. I didn’t get too much done over the holidays, but I am still making decent progress. It’s a bit sad to think that I could probably do what I’ve done in two or three weeks working full-time, but such is life, and having a full-time job that allows me to pay for all of this.
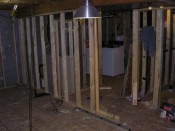
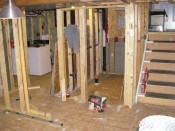
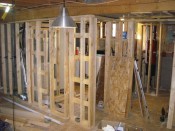
The next step after the exterior framing and sub-floor is doing the interior walls. I built these walls on top of the sub-floor for a couple of reasons: the main being that I don’t have to worry about moisture issues, and the other being that it’s easier to anchor them to the sub-floor than the concrete (and the subfloor is well anchored, to prevent any bouncy/uneven spots – I used about 8 tapcons per 4×8 sheet).
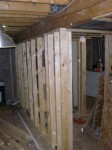
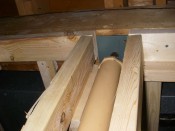 The wall running down the center has a jack post in the middle of it, and this posed a minor issue as the post isn’t quite centered with the wall. As you can see in this photo (showing from the front/rec-room side), the wall is flush with the beam above, and the post is recessed in the wall (though centered in the actual beam).
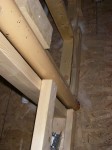
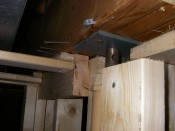
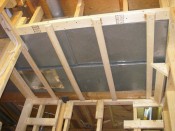
The post is actually sticking out of the wall on the back (laundry room) side, so to deal with this, I added some left over pieces of 2×4’s flat on their side, which will bring the drywall out over top of the post. The part of the wall directly between the laundry room and rec-room will end up being a bit thicker (4.5″, or 5.5″ with drywall) than normal, but the jack post will be completely hidden. The overhang from the main beam above is hidden beside the main HVAC ducts, which are all boxed in together.
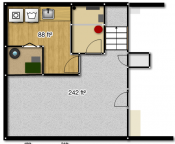
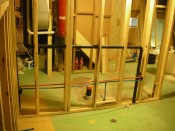
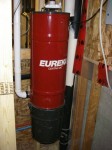
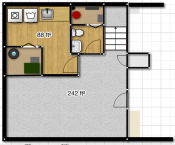
Another thing I had to deal with was the placement of the central vacuum cleaner. Below you can see the diagram of the approximate layout at this point, and an older picture (from before the sub-floor) which shows the existing central vac location (in the floor plan, the vac is the red circle).
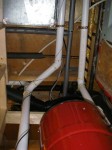
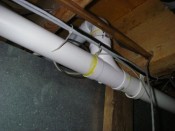
In case it’s not clear, the central vac is basically directly in front of where the toilet will go, which would make things quite crowded in the bathroom. I re-routed all the pipes going to the vacuum, and actually made things simpler because there are not pipes going all over the place now (the pictures were too hard to comprehend, so I didn’t bother posting them). I know it looks a bit crazy here, but trust me, this is much neater than it was before.
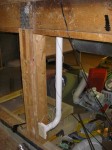
While I was messing with vacuum pipes and had the PVC glue out, I also added another hookup in the basement.
Below is the final layout, showing the new location of the vacuum, and all the interior walls framed and complete.
